Have you ever imagined the perfect crochet project in your head but couldn’t find a pattern that quite captured your vision? Maybe it was a sweater with just the right drape, a plush toy with a personality all its own, or a home décor piece that fit your aesthetic down to the last stitch. It’s a common experience for many crocheters — and often the first sign that you’re ready to take the next step: making crochet pattern.
Designing your own crochet pattern gives you the freedom to bring those one-of-a-kind ideas to life. It allows you to move beyond simply following instructions and into the realm of building something completely your own, from concept to finished piece. Whether you want to create something entirely new, adapt an existing idea to better suit your needs, or simply challenge yourself creatively, learning to write patterns is a valuable skill. It opens the door to endless possibilities — not just for personal projects, but also for sharing your designs with the crochet community, whether that means offering them for free, selling them online, or publishing them on your own blog.
1. Making Crochet Pattern: Start With Inspiration
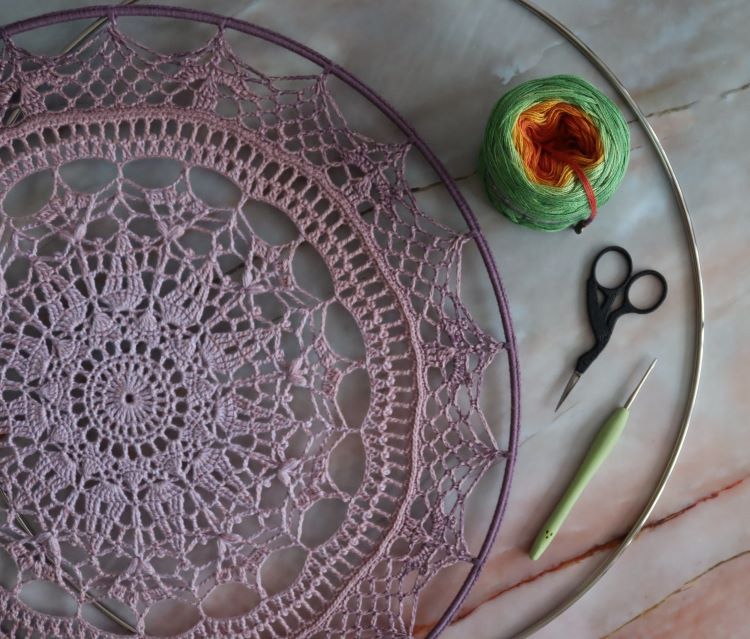
Every great pattern begins with inspiration. This could be a functional need — like a cozy oversized scarf for winter — or purely artistic, like a colorful mandala that brings a splash of joy to your space. Maybe you’ve seen a certain stitch that you love, or you’re drawn to a particular shape or texture. Spend some time exploring what excites you about this project. Is it the colorwork? The structure? The type of yarn? Let your imagination lead, and don’t be afraid to dream big. Knowing what motivates the design will help guide your decisions later on, from stitch choice to construction.
Once your idea starts to take shape in your mind, try putting it down on paper. Even a quick, messy sketch can help you visualize your design more clearly — and you don’t need to be an artist to do it. If you’re designing something wearable, a simple outline can show you how the piece will fit together or where shaping might happen. For amigurumi, sketching the basic body parts — like the head, limbs, and accessories — gives you a sense of proportions and helps you plan how each element will be constructed and assembled. You can label the pieces, jot down stitch ideas, or even color it in if you’re planning a multi-color project. The sketch becomes a visual blueprint that helps you stay organized and intentional as you move from idea to prototype. It’s your design’s first real step from imagination to reality.
2. Turn your sketch into a blueprint
After you’ve made your initial sketch, take some time to refine it. This doesn’t mean turning it into a perfect work of art — just adding enough detail so it can truly guide your pattern as it develops. Look at the basic shapes you’ve drawn and start thinking practically: Where will you start crocheting? Will the piece be worked in rows, rounds, or separate sections that are sewn together later? If you’re designing a garment, you might want to outline areas for increases, decreases, armholes, or shaping. You can also note where color changes, stitch pattern transitions, or embellishments will go.
For amigurumi, this is the perfect stage to break your design into parts — head, body, limbs, ears, tail — and consider their sizes in relation to one another. Make notes beside your sketch about dimensions, construction order, or anything else that will help later. The sketch doesn’t have to be final; it can evolve as your ideas shift. Think of it as your visual checklist — something you’ll come back to throughout the pattern-writing process to stay on track and keep your creative vision clear.
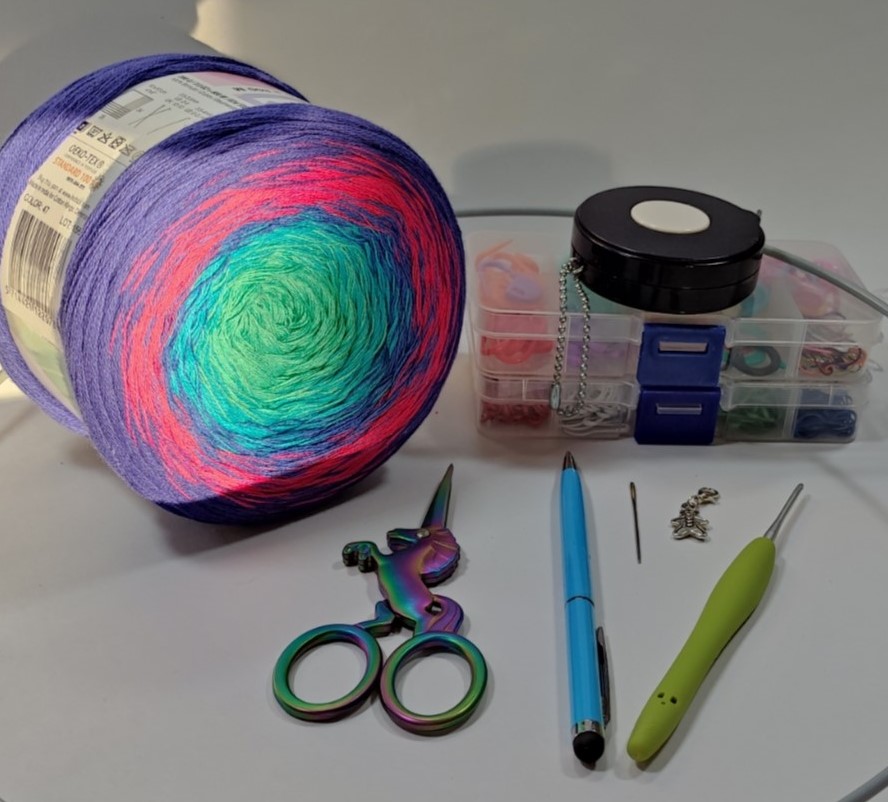
3. Select the Right Yarn and Tools
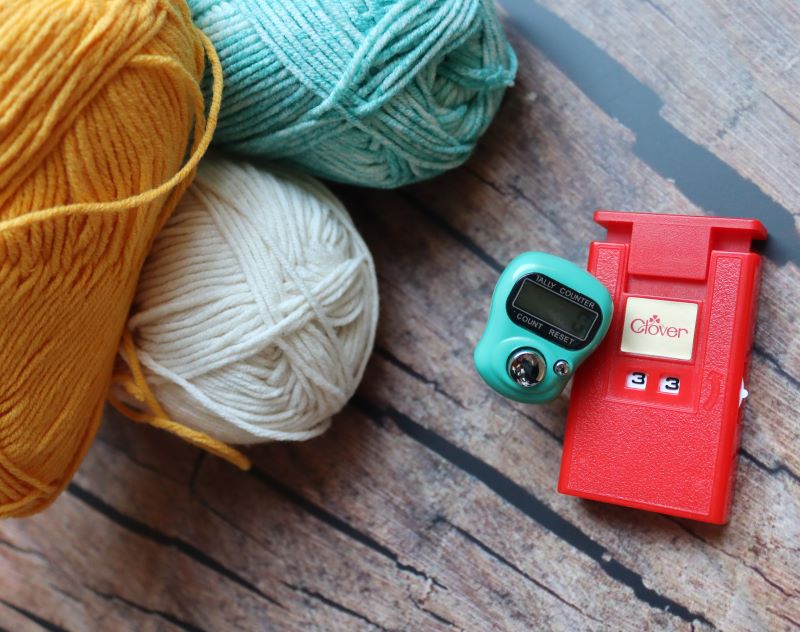
The materials you choose will have a huge impact on how your design looks, feels, and functions — so take your time selecting a yarn and hook that truly match your vision. Start by thinking about the yarn weight, since it affects everything from the drape and texture to how much detail will show in your stitches. Bulky and worsted-weight yarns are perfect for cozy, plush projects and tend to work up quickly, making them ideal for accessories, blankets, and statement pieces. On the other hand, lighter weights like fingering or sport yarns are better suited for delicate items like lace shawls, detailed garments, or fine amigurumi.
Beyond weight, consider the fiber content, which plays a big role in the behavior of your finished piece. Cotton yarn offers structure and crisp stitch definition, making it great for bags, dishcloths, and summer wear. Wool provides warmth and stretch, ideal for garments that need a bit of flexibility, like hats or sweaters. Acrylic is affordable, widely available, and easy to care for — a great all-purpose option for a variety of projects.
Finally, think about hook size. The size of your hook will determine how loose or tight your stitches are, which affects both the texture and the size of your project. Don’t be afraid to experiment — sometimes going up or down a size from what’s recommended on the yarn label will give you a better result. Try testing with a few different combinations can help you find the perfect match before committing to the full design.
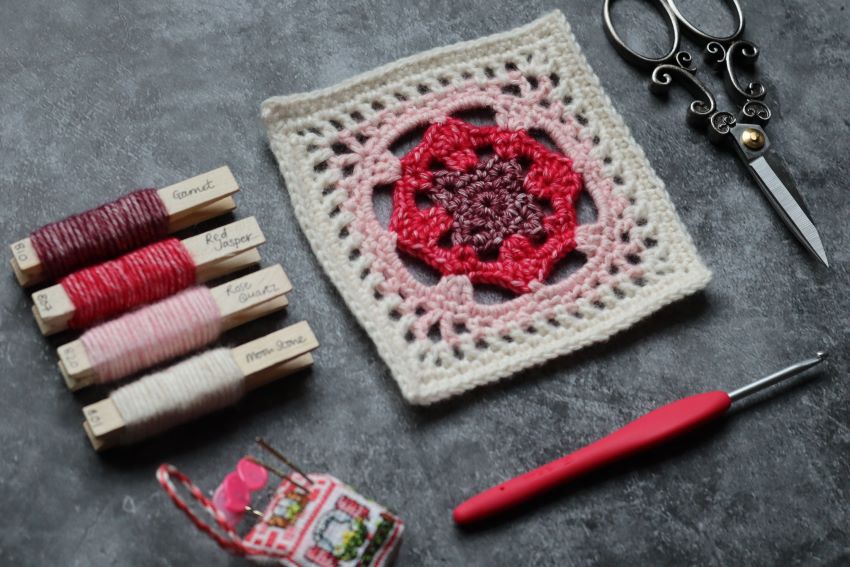
4. Making Crochet Pattern: Create a Swatch and Take Notes
Before jumping into the full project, it’s essential to create a swatch. A swatch is a small sample made with your chosen yarn, hook, and stitch pattern, and it serves as a crucial step in ensuring your design turns out as planned. Swatching helps you determine your gauge — the number of stitches and rows you get per inch — which is especially important if you’re designing projects with specific measurements, such as garments or accessories. Without an accurate gauge, your project may end up too small or too large, so it’s important to take the time to get this right.
But swatching is about more than just checking gauge. It gives you the opportunity to test how your yarn and stitch interact. How does the fabric feel? Is it too stiff, or does it have the right amount of drape? Does the fabric curl, or does it hold its shape? Is the stitch definition clear and clean, or does it get lost in the yarn? This is also the time to experiment with different stitch patterns or techniques you may not be entirely sure about. As you swatch, take detailed notes about your stitch count, hook size, yarn, and any special techniques or adjustments you make along the way. These notes will serve as the foundation for your written pattern, helping ensure you don’t forget any important details when it’s time to write your instructions.
5. Work Up a Prototype
Now it’s time to turn your vision into reality. As you begin crocheting your actual design, be sure to document each step thoroughly. Record every row or round, including the stitch count, any repeats, and special instructions, so you have an accurate reference for later. Whether you prefer a notebook or a digital document, keeping track of your progress is key — especially as your design evolves. It’s normal to encounter challenges during this stage. Perhaps the shaping doesn’t turn out quite as expected, or a stitch pattern doesn’t behave the way you envisioned. Don’t let this discourage you! Remember, designing is an iterative process — experimenting, frogging, and reworking parts of your project are all essential steps in refining your design. Each change you make brings you closer to the perfect final pattern, and each adjustment teaches you something new about your own creative process.
6. Write Clear and Consistent Instructions
Once your prototype is complete and you’re satisfied with the results, the next step is to transform your notes into a clear, easy-to-follow pattern. Start by listing all the materials you’ll need, including the yarn brand, color, hook size, and any additional notions like stitch markers or buttons. Include essential information such as gauge and finished measurements to help others match your sizing. It’s also important to specify whether you’re using US or UK crochet terminology and to stick to standard crochet abbreviations. If you’re using any special or custom stitches, make sure to define them clearly. For the pattern itself, write out step-by-step instructions, ensuring they are consistent and easy to understand.
The goal is for anyone to follow your instructions and recreate your design without confusion. If you’re unsure about your formatting or language, consider looking at patterns you admire to see how they structure their instructions. With practice, your clarity and consistency will improve, and your patterns will become easier to follow.
7. Making Crochet Pattern: Test the Pattern
Testing is one of the most crucial steps in pattern writing. Before sharing your design with the world, work through the instructions yourself to make sure everything flows smoothly. It’s also a great idea to ask another crocheter to test the pattern. Having a fresh set of eyes on your instructions can help identify any errors, clarify confusing sections, and highlight areas that need improvement. If possible, consider building a small group of testers with varying skill levels — this will give you a broad perspective on how your pattern is understood. Don’t be afraid of critique; constructive feedback will only make your pattern more polished, user-friendly, and approachable to crocheters of all levels. Keep an open mind, and be willing to adjust as needed to ensure the pattern works for everyone.
8. Add Finishing Touches and Share Your Work
Once your pattern has been tested and refined, you’re ready to share your creation with the world. High-quality photos are a key element — capture the finished project from multiple angles to showcase the details. If possible, include step-by-step photos or close-ups of key steps to further assist others in visualizing the process. When you’re ready to publish, consider formatting your pattern as a downloadable PDF to make it easy to share and print. You can post it on your blog, an online store, Ravelry, Etsy, or even on social media platforms to reach your audience.
Don’t forget to add a personal touch — include your branding, whether it’s a logo, your name, or your social media handle so that people can connect with your other designs. Some designers choose to offer their first patterns for free as a way to build an audience, while others opt to sell them immediately. Trust your instincts and do what feels right for you — the most important thing is sharing your unique work with other.
Conclusion
Making crochet pattern is an incredibly fulfilling experience. It’s more than just making something — it’s about transforming a concept in your mind into a tangible, beautiful creation that others can enjoy, recreate, or build upon. The process might involve some trial and error, and you may run into a few snags (pun intended) along the way, but each challenge teaches you more about your craft and sharpens your creative instincts. Every stitch, sketch, and swatch gets you closer to becoming not just a maker, but a designer with a unique voice.
Whether your goal is to create a personal heirloom, share your ideas with the crochet community, or build a brand around your designs, your patterns are a reflection of your imagination — and that’s something truly special. So go ahead, grab your yarn and hook, and start sketching your next idea. The crochet world is always ready for something new, and your vision might just be the next pattern someone falls in love with. Happy Crocheting!