Joining yarn is a crucial skill for any crocheter, enabling seamless transitions between colors or simply adding a new skein when the old one runs out. Here’s a guide to mastering this essential technique. Before diving into the methods, it’s important to understand why joining yarn correctly is vital in crochet. A well-joined yarn ensures that your work looks neat and professional. It also prevents your work from unraveling and maintains the integrity of the piece.
Methods of Joining Yarn in Crochet
it’s helpful to understand specific examples of projects where each technique might be most beneficial. This context can guide crocheters in choosing the most suitable method for their work. Below you’ll find most used methods of joining yarn in crochet with quick how to and most suitable projects.
There are 4 main methods of joining yarn when crocheting:
- The Russian Join – suitable for delicate projects.
- The Knotless Join – good for thicker yarns.
- The Magic Knot – perfect for makes that need to be washed.
- The Felted Join – works well on hats and bags.
Let’s look into each of those more closely:
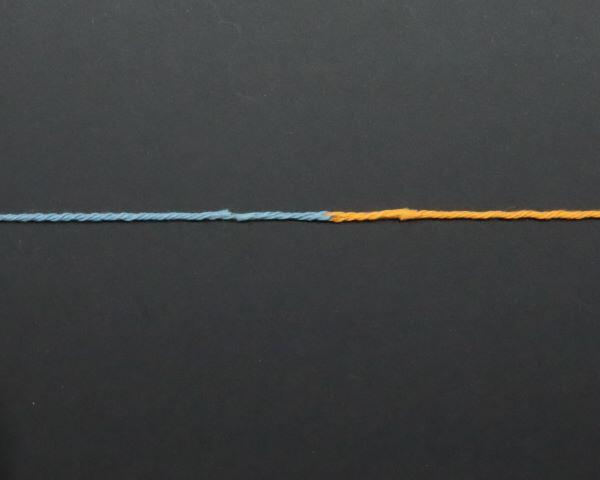
1. The Russian Join

- Ideal for: Delicate or fine projects like lace shawls or lightweight garments.
- Why it’s suitable: This join is almost invisible and doesn’t add bulk, making it perfect for projects where a seamless look is crucial. It’s also great for yarns that might be too slippery or delicate for knots.
- Example: Imagine a delicate lace tablecloth made with fine cotton thread. The Russian Join would be ideal here to ensure that the joins are not visible in the intricate patterns.
How to:
- Step 1: Thread the end of your old yarn onto a needle.
- Step 2: Weave the needle back through the center of the yarn for about an inch.
- Step 3: Pull the needle through, leaving a loop at the end.
- Step 4: Thread the end of the new yarn through the loop.
- Step 5: Just like with the old yarn, weave the new yarn back through its center.
- Step 6: Pull both ends to close the loops and trim any excess.
2. The Knotless Join
- Ideal for: Projects with thicker yarn or where texture is not a concern, such as blankets or rugs.
- Why it’s suitable: Since this method involves crocheting over the ends, it’s less noticeable in projects with a looser weave or heavier yarn. It’s quick and efficient for large projects.
- Example: For a cozy, chunky afghan made with bulky yarn, the Knot-less Join would be a practical choice as the thicker yarn would conceal the join effectively.
How to:
- Step 1: When you have a short tail left of your old yarn, lay the end of the new yarn alongside it.
- Step 2: Hold both yarns together and continue to crochet as normal for a few stitches.
- Step 3: Once secured by several stitches, you can drop the tail of the old yarn and continue crocheting with the new yarn.
- Step 4: Trim any excess tails close to the work.
3. The Magic Knot
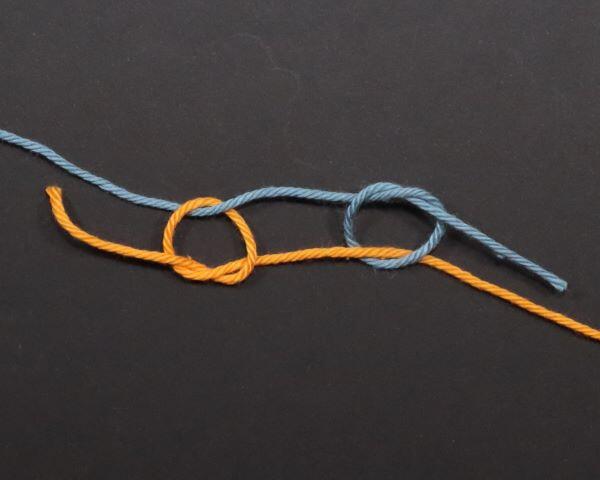
- Ideal for: Children’s wear, toys, or any project requiring a sturdy, washable join.
- Why it’s suitable: The magic knot is extremely secure and can withstand tension and wear, making it ideal for items that will be used and washed frequently.
- Example: When creating a colorful children’s sweater with multiple color changes, the Magic Knot ensures that the joins can endure the rigors of active use and frequent washing.
How to:
- Step 1: Lay the end of your old yarn over the new yarn.
- Step 2: Tie a simple knot around the new yarn with the old yarn, pulling it close but not too tight.
- Step 3: Now tie a simple knot with the new yarn around the old yarn in the same way.
- Step 4: Pull both yarn ends to bring the knots together until they lock tightly.
- Step 5: Trim the tails close to the knot.
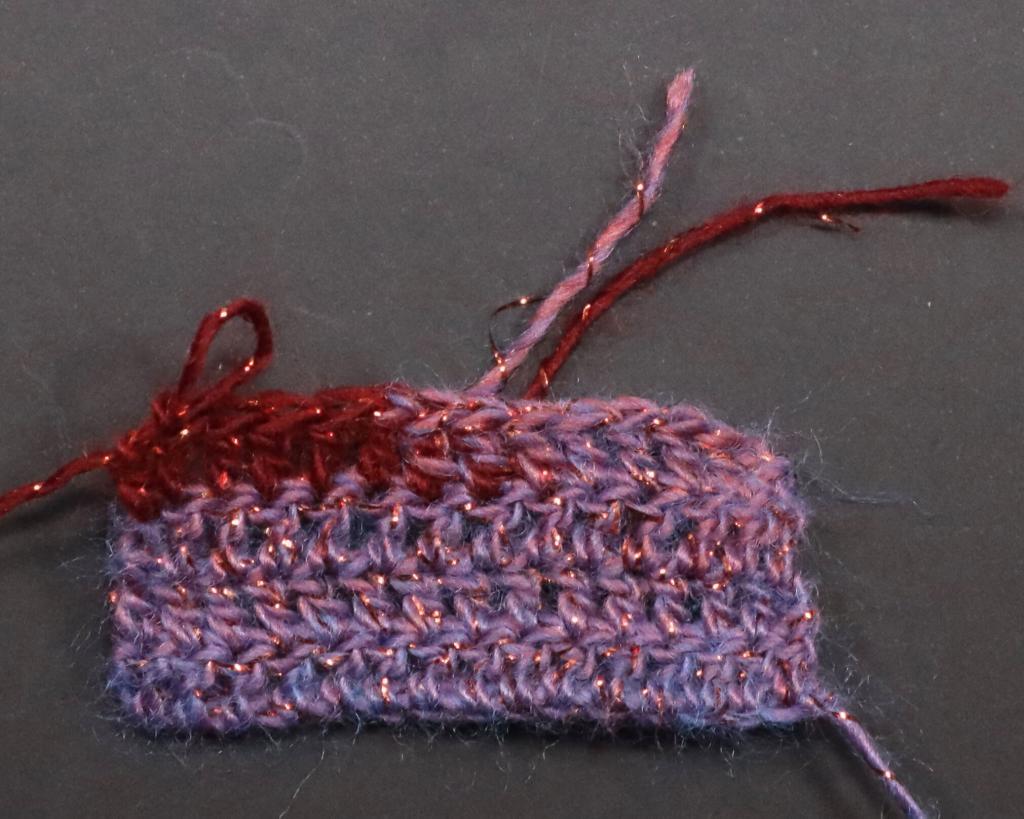
4. The Felted Join
- Ideal for: Woolen projects where the join can be easily disguised, like felted bags or hats.
- Why it’s suitable: This method works well with wool fibers that can be felted, creating a strong and virtually invisible join.
- Example: In a felted wool tote bag, where the fabric will be thick and textured, a Felted Join would seamlessly integrate the new yarn without affecting the overall aesthetic.
How to:
- Step 1: Take the ends of the old and new yarns, and fray them slightly if they are plied.
- Step 2: Overlap the frayed ends.
- Step 3: Wet your fingers with a little water and rub the overlapped section briskly until the fibers start to fuse together. This may take a few minutes.
- Step 4: Once felted, gently tug on the join to ensure it’s secure, and then continue crocheting.
Additional Considerations for Joining Yarn in Crochet
Yarn Texture and Type
- Silky, Slippery Yarns: For yarns with a silky or slippery texture, secure joins are essential to prevent unraveling. The Russian Join is excellent for these types of yarns as it weaves the ends together, providing a stable connection.
- Thick, Chunky Yarns: For bulky yarns, a method that doesn’t add extra bulk is preferable. The Knotless Join is ideal as it integrates the new yarn without creating additional thickness.
- Fibrous, Woolen Yarns: Wool and similar fibrous yarns are perfect for the Felted Join, as their natural properties allow the fibers to fuse together effectively.
Color Changes and Pattern Consistency
- Striped Patterns: When working with stripes or other designs requiring precise color changes, the choice of join can impact the sharpness of these transitions. The Magic Knot is a good option here as it allows for exact color changes without excess yarn tails.
- Variegated Yarns: With variegated yarns, where color changes within a single skein, joins might need to be less noticeable. The Russian or Knotless Joins work well as they can blend more seamlessly into the color variations.
Project Durability and End Use
- Wearable Items: For items like clothing or accessories that will be worn and require regular washing, a durable join like the Magic Knot is necessary to withstand frequent handling and laundering.
- Decorative Pieces: For decorative items like wall hangings or amigurumi, the join’s appearance may be more critical than its strength. Here, a join that is less visible, like the Russian Join, would be preferable.
Crochet Yarn Joining in Different Crochet Techniques
- Lace Crochet: In delicate lacework, the joins need to be almost invisible. The Russian Join is often ideal in this scenario.
- Amigurumi: In amigurumi, where the fabric is tight and the item is often stuffed, a secure and small join like the Magic Knot is beneficial to maintain the structure of the piece.
Environmental and Practical Considerations
- Yarn Wastage: Some joining methods, like the Knotless Join, can minimize yarn wastage, which is an important consideration for expensive or hand-dyed yarns.
- Ease and Speed: For large projects or when time is a factor, a quicker join like the Knotless or Magic Knot may be preferred to save time while still ensuring a secure and neat finish.
Personal Preference and Skill Level
- Skill Level: Beginners might prefer simpler methods like the Knotless Join, while more experienced crocheters might opt for more advanced techniques like the Russian Join.
- Personal Aesthetic: The choice of join can also be influenced by personal preference regarding the look and feel of the join in the finished project.
Finishing Your Project
Once you’ve mastered yarn joining, finishing your projects will be more satisfying. You’ll be able to change colors or add new yarn without interrupting the flow of your work. Remember, each project might require a different method, so don’t hesitate to experiment.
In conclusion, mastering the art of joining yarn in crochet will elevate your craft, ensuring your projects look seamless and professional. With a bit of practice and patience, you’ll find the method that works best for you and your projects. Happy crocheting!