Have you ever excitedly followed a crochet pattern, only to find that your finished project looks completely different from the example? Maybe the sweater you worked so hard on turned out too tight, or the hat ended up way too big. If this sounds familiar, the culprit is likely gauge—an often-overlooked but crucial aspect of crochet.
Gauge determines the size, fit, and overall look of a crochet piece, making it essential for achieving professional and accurate results. Whether you’re working on garments, blankets, or amigurumi, understanding and measuring gauge can save you from frustration, wasted time, and unnecessary yarn expenses. In this guide, we’ll explore why gauge matters, how to measure it correctly, and what to do if your gauge is off.
What is Gauge in Crochet?
Gauge refers to the number of stitches and rows per inch (or centimeter) in a crochet pattern. It is affected by several factors, including:
- Yarn weight – Thicker yarns produce larger stitches, while thinner yarns create smaller ones.
- Hook size – A larger hook makes looser stitches, while a smaller hook tightens them.
- Tension – Everyone crochets differently; some stitch tightly, while others stitch loosely.
- Stitch type – Some stitches naturally produce a denser fabric (like single crochet), while others are more open and airy (like treble crochet).
A pattern’s gauge is usually written in this format:
“16 stitches x 12 rows = 4 inches (10 cm) in double crochet.”
This means that when you crochet a 4-inch (10 cm) square using double crochet, you should have exactly 16 stitches across and 12 rows high.
Why Does Gauge Matter?
Many crocheters, especially beginners, are tempted to skip the gauge swatch, thinking it’s unnecessary. However, here’s why gauge is so important:
1. Ensures the Right Size & Fit
If you’re making a sweater, cardigan, or hat, even a slight difference in gauge can result in a poor fit. A half-inch difference over multiple stitches and rows can make a garment too tight or too loose.
2. Saves Time and Yarn
When your gauge doesn’t match the pattern’s, you might use more or less yarn than required. If your stitches are too loose, you may run out of yarn before finishing the project. If they’re too tight, you might end up with extra yarn but a much smaller finished piece.
3. Keeps Patterns Looking Right
Gauge isn’t just about size—it also affects the overall look of your work. Certain patterns, such as lace or amigurumi, depend on precise stitch counts for their intricate designs. If your gauge is off, the final product may look completely different from the original design.
How to Measure Your Gauge Correctly
Measuring gauge is simple, but it requires attention to detail. Follow these steps to ensure accuracy:
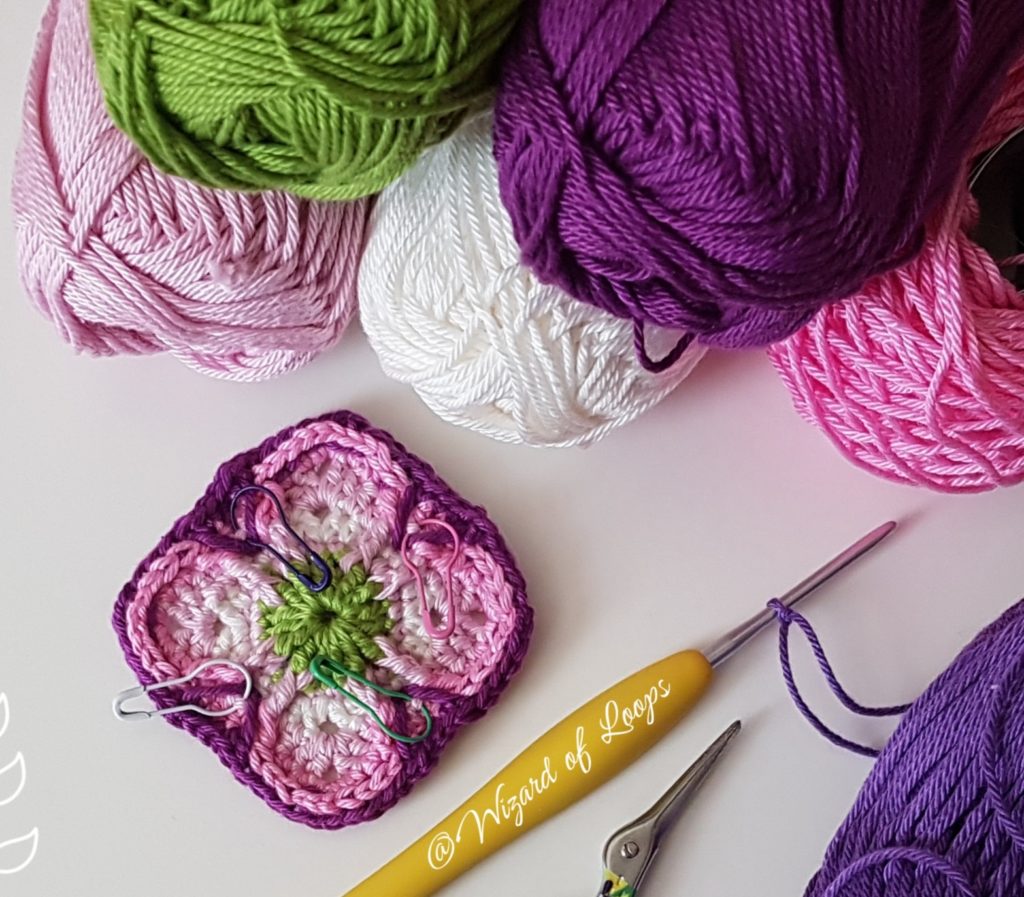
Step 1: Crochet a Gauge Swatch
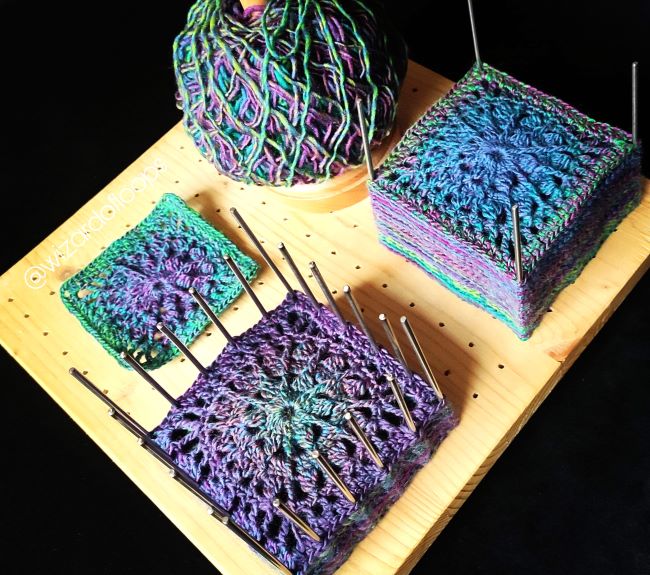
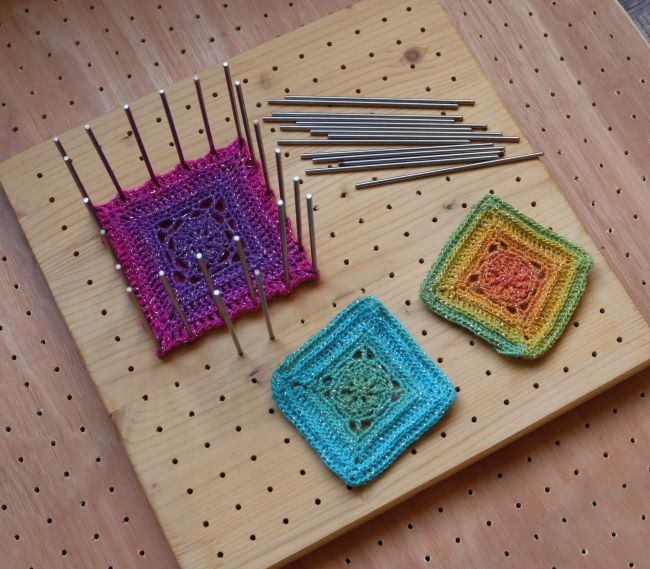
Before starting your project, create a swatch—a small sample piece using the stitch pattern and hook size recommended in the pattern. The swatch should be at least 4×4 inches (10×10 cm) to provide an accurate measurement.
Step 2: Lay It Flat and Relaxed
Place the swatch on a flat, even surface and allow it to relax. Avoid stretching or pulling it, as this will affect the measurement.
Step 3: Count the Stitches and Rows
Using a ruler or measuring tape, count how many stitches fit within 4 inches (or 10 cm). Then, count how many rows fit within the same area.
Step 4: Compare with the Pattern Gauge
- If you have more stitches per inch than the pattern calls for, your gauge is too tight. Try using a larger hook.
- If you have fewer stitches per inch, your gauge is too loose. Try using a smaller hook.
- If your row count is off, adjusting tension may help, or you may need to modify your stitch height.
Troubleshooting Gauge Issues in Crochet
Getting the correct gauge in crochet can be frustrating, especially when your stitches don’t match the pattern’s instructions. Whether your project turns out too big, too small, or inconsistent, there are several common reasons why gauge issues happen. In this guide, we’ll go over frequent mistakes and how to fix them, what to do when you can’t match gauge exactly, why your gauge changes mid-project, and how to control your tension for better results.
Common Gauge Mistakes and How to Fix Them
Even experienced crocheters run into gauge problems from time to time. Here are some of the most common mistakes and their solutions:
- Not Measuring the Gauge Swatch Correctly – It’s important to measure your swatch on a flat, even surface without stretching it. Use a ruler or tape measure and count full stitches and rows within a 4-inch (10 cm) square. If possible, block your swatch before measuring, especially for garments.
- Skipping the Gauge Swatch Entirely – Many crocheters skip the gauge swatch to save time, only to end up with a project that doesn’t fit. Taking 10–15 minutes to check gauge before starting can save you hours of frustration later.
- Using the Wrong Yarn Weight – Even if a yarn label says it’s the right weight (e.g., worsted or DK), different brands and fiber types behave differently. If your gauge is too tight or too loose, try switching to a yarn with a similar fiber content and structure to what the pattern recommends.
- Ignoring Hook Material – Metal hooks allow stitches to slide easily, while wooden or plastic hooks create more friction. If your stitches feel too tight or too loose, try changing the hook material rather than just the size.
- Not Accounting for Personal Tension – Everyone crochets differently. If you naturally crochet tightly, you may need to go up a hook size. If you crochet loosely, you may need to size down.
When Can You Ignore Gauge?
While gauge is important for most projects, there are some exceptions where you don’t need to follow it strictly:
Blankets & Scarves – If they end up slightly larger or smaller, it won’t matter much.
Dishcloths & Coasters – Size variations won’t affect their functionality.
Freestyle Crochet – If you’re designing your own piece or making an experimental project, gauge may not be critical.
For anything that needs to fit properly—such as sweaters, hats, gloves, socks, or amigurumi—always check gauge!
Why Your Crochet Gauge is Too Tight (Or Too Loose) and How to Fix It
Gauge issues often come down to tension control—how tightly or loosely you hold your yarn while crocheting. Here’s how to fix it:
- If Your Gauge is Too Tight:
- Use a larger hook to loosen stitches.
- Hold the yarn more loosely in your non-dominant hand.
- Try a hook with a smoother material, like metal, to help stitches glide better.
- Practice consciously making taller stitches.
- If Your Gauge is Too Loose:
- Use a smaller hook to tighten stitches.
- Wrap the yarn around your fingers an extra time to add more tension.
- Use a hook with more grip, like a wooden or plastic one, to slow down stitch movement.
- Keep an even pace while crocheting to prevent stitches from loosening.
Why Your Gauge Changes Mid-Project & How to Prevent It
Have you ever noticed that your project starts out with the right gauge, but changes as you go? This can happen for several reasons:
- Fatigue and Hand Strain – When you crochet for long periods, your hands may tighten up, causing your stitches to become tighter. Take breaks, stretch your hands, and relax your grip to maintain even tension.
- Different Stitch Techniques – If you accidentally change how you insert your hook, yarn over, or pull through stitches, it can affect gauge. Try to stay consistent throughout the project.
- Switching Hooks Midway – If you lose your hook and grab another of the same size but a different brand, the slight difference in manufacturing can alter your stitches. Always stick with the same hook throughout the project.
- Stress or Mood Changes – Believe it or not, stress can affect your tension! If you crochet while feeling tense, your stitches may be tighter than when you’re relaxed. Try crocheting in a calm environment and staying aware of your tension.
Gauge and Specific Crochet Projects
- Gauge and Amigurumi: Why Tighter Stitches Matter
- Tighter stitches prevent stuffing from showing through the fabric.
- Ensures a clean, solid texture for your amigurumi.
- Crucial for achieving a neat fit in small, intricate details like limbs, facial features, and body parts.
- Tighter stitches make your toy more durable and visually appealing.
- How to Adjust Gauge for a Perfectly Fitting Crochet Sweater
- Gauge ensures the correct fit of wearables, like sweaters.
- To adjust:
- Crochet a swatch and measure it against the pattern’s specified gauge.
- If the swatch is too small, use a larger hook; if too large, use a smaller hook.
- Block your swatch, as yarn may stretch or shrink.
- Adjusting gauge early saves time and prevents a poor fit.
- Does Gauge Matter for Blankets and Home Decor?
- Gauge is important for achieving the correct size of blankets and home décor items.
- For projects like cushions or throws, minor gauge differences can be flexible.
- Adjust the stitch count or add/subtract rows to adjust size.
- Focus on stitch consistency for an even look and texture.
- Why Gauge is Crucial for Crochet Socks and Gloves
- Gauge impacts fit, comfort, and durability in socks and gloves.
- Loose gauge may cause items to stretch or lose shape with wear.
- Tight gauge can make the fabric uncomfortable or stiff.
- Ensuring the correct gauge creates a snug, comfortable fit.
Gauge might seem like a minor detail, but it plays a crucial role in ensuring your crochet projects turn out just right. Taking the time to check and adjust your gauge before diving into a pattern can prevent sizing mishaps, uneven stitches, and wasted yarn. Whether you’re crafting a cozy sweater, an intricate lace shawl, or a snug-fitting hat, getting your gauge right sets the foundation for a polished, well-proportioned result.
So before you start your next project, make gauge swatching a habit—it’s the key to achieving consistent, beautifully finished crochet pieces!